Arm quick start
Before using the arm, connect it to your PC and complete power-up.
Power
After Unpack and Assembly, move the arm to the start position, then power it with the included adapter.
Start position (click to expand)

After power-on, the motor and end termination indicator LEDs turn on; within about 15–40 seconds the arm enters position hold (locked) mode:
Common issues if startup looks wrong
-
Wrong CAN port.
A single arm must usecan0; only two arms may share one controller, oncan0andcan1. See Unpack and Assembly, Section 4. -
Missing termination resistor.
Power off and verify the termination resistor is present. See Unpack and Assembly, Section 6. -
Controller mismatch. Controllers are not interchangeable across different Hex product lines; use only the controller shipped with your kit.
- If none of the above applies, contact support.
Network
Before API control, put the arm and PC on the same LAN so the device can be discovered. Your controller may have:
- One Ethernet port — connect with a cable.
- Two Ethernet ports — use the left port.


Configure the network so the controller and PC are on the same subnet over Ethernet and the controller has an IP address. If you are new to networking, review basic LAN/IP concepts first.
Do not use Wi‑Fi for API control
Do not use Wi‑Fi for the API link. Wi‑Fi adds unpredictable latency, which is unacceptable for real-time control.
Use a wired Ethernet connection between the PC and device for real-time control.
Basic checks
Verify zero position over the API
Disable proxy if present
The API uses the network. A system or corporate proxy can break the connection. Ensure no proxy is forced for this traffic.
A quick check: run env | grep proxy. If you see proxy-related variables other than no_proxy, clear them or add the controller IP to no_proxy.
Port depends on which CAN port the arm uses
can0→ 8439can1→ 9439
-
Install the Python package:
-
Download the example script that moves the arm from locked to zero torque so you can move it by hand:
-
Get the robot IP from the controller documentation.
-
Run:
The arm leaves locked mode and the terminal prints joint angles. When the arm is straight up, all joints are at the mechanical zero.
Confirm mechanical zero
If the arm is vertical but joint readings are not near 0.0 rad, zero is not calibrated. Stop use and contact support.
Visualize with XView
You can also use XView to check whether the live pose matches the model.
XView helps you quickly diagnose whether a product is behaving abnormally.
Chrome only
Note: Only Chrome is supported. Other browsers may not work due to browser security policies (for example, an https page may block ws:// connections).
IPV4 only
To facilitate use, XView only supports IPV4 addresses. Simply put, you cannot use a cable to directly connect the robot and PC. They must both be connected to a router. (When using API control, IPV6 is supported, meaning you can directly connect the robot and PC without a switch or router.)
For reference only
Due to browser performance limitations, XView may experience stuttering on some machines and may not achieve the highest control frequency. This is normal, and performance requirements will be significantly reduced when using API control.
Additionally, XView is intended as a quick diagnostic tool for checking if a product is functioning normally. XView only provides the most basic control methods (for example, moving or rotating the base in one direction; viewing the current pose of the manipulator). Please refer to the API control section for advanced control functionality.
Prerequisites
- Obtain the robot's IP address. Please refer to the controller documentation to obtain the controller's IP address.
- Open XView.
- Follow the browser prompt to allow the insecure connection.
- Enter the IP address and port, for example
ws://192.168.1.100:8439. (If the product page does not specify a port, the default is 8439.) (The language can be switched in the upper right corner)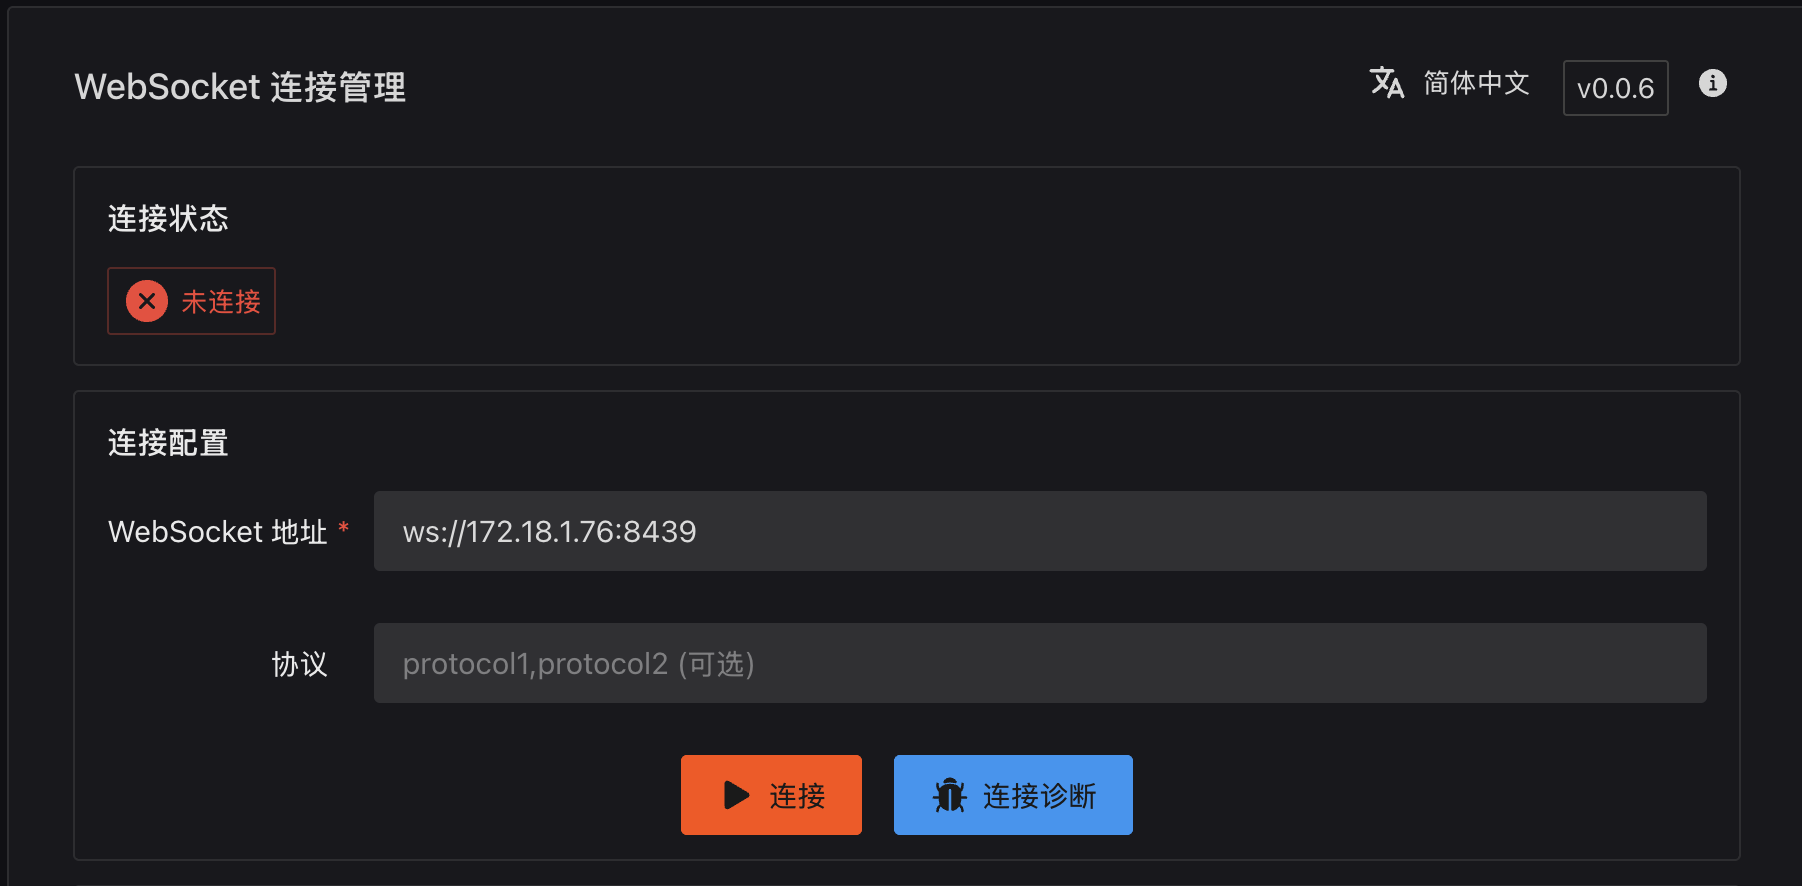
-
Click
Connect, then clickGo to Panel.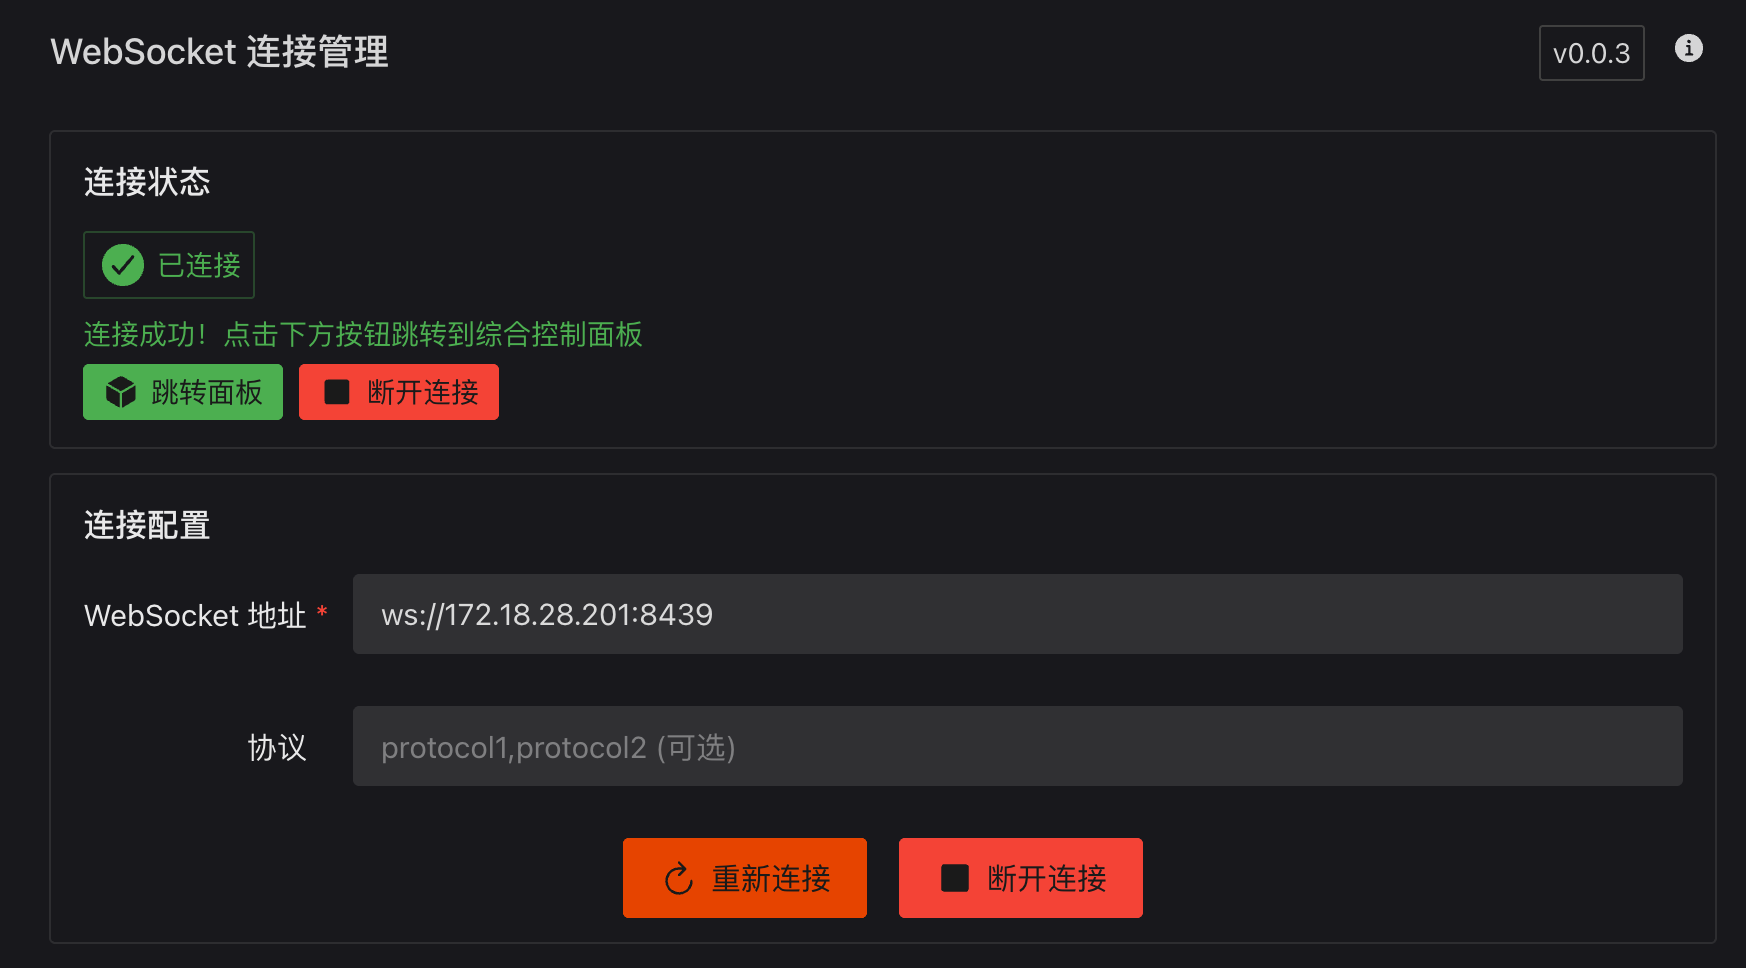
-
After opening XView, go to the arm home. Enable
3D modelandMotor statusto see both together.

- Normally the model appears and tracks the real arm. With
arm_release.pystill running, move the arm and confirm the model follows.
Confirm mechanical zero
If the model pose differs greatly from the real arm, zero is not calibrated. Stop use and contact support.
Run the trajectory demo
After zero checks, you can run the bundled trajectory demo to exercise the arm.
Clear the workspace
The arm will move through a large range. Remove obstacles and people from the work area.
-
Stop
arm_release.pyso the arm returns to locked mode. -
Download the trajectory script:
-
Run:
-
Press Ctrl+C to stop; the arm will move back near the start position.
See the video for expected motion:
If your kit includes a gripper, it will open/close with the trajectory as well:
Video Coming soon.
That completes the basic arm bring-up. 🎉