HEXCOMPUTER-P1
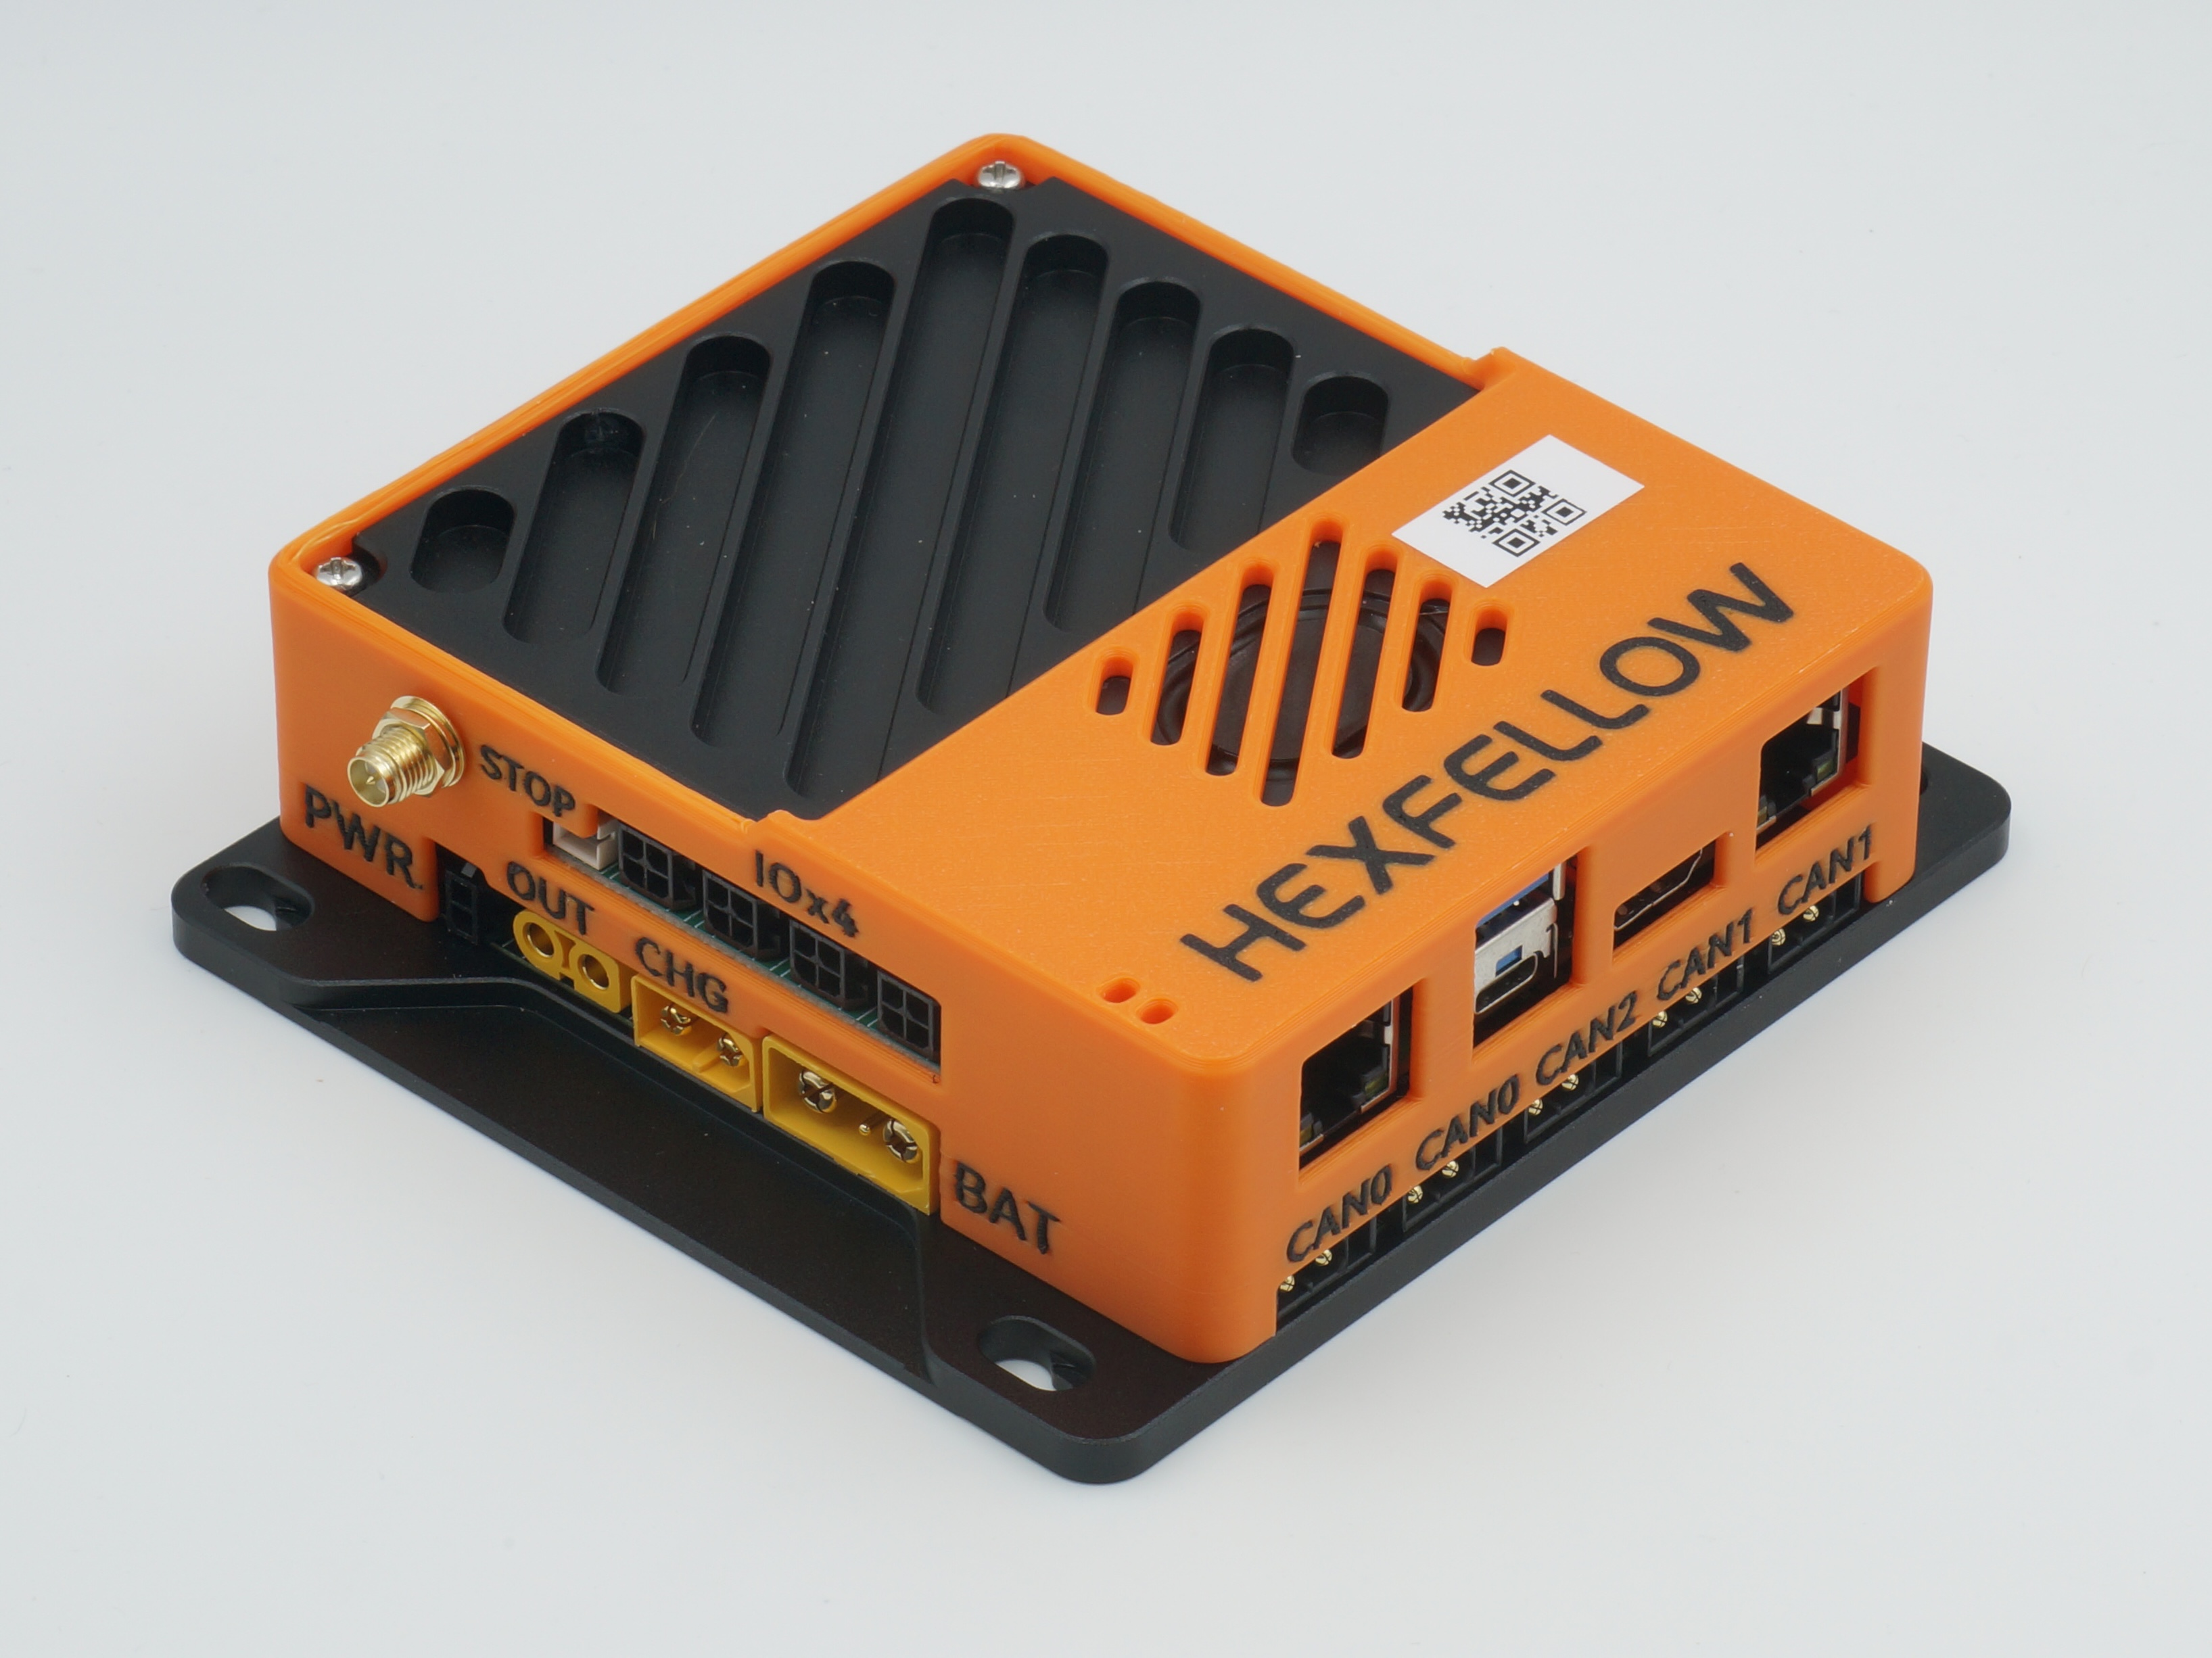
HEXCOMPUTER-P1 is a controller designed by HexFellow specifically for robot control, featuring the following key characteristics:
- RK3568 processor
- Dual Gigabit Ethernet ports, WiFi, USB
- 48V battery voltage tolerance
- 3x CAN-FD @ 5Mbps (PCIe interface)
- Controllable external output circuit with soft-start and overvoltage protection
- Onboard speaker
- Multiple GPIO and ADC channels
Quick Start
The HDMI port on the HEXCOMPUTER-P1 cannot be used
The HDMI port on the HEXCOMPUTER-P1 cannot be used, please do not use the HDMI port.
System Overview
HEXCOMPUTER-P1 consists of a bottom high-current/CAN communication board and an upper control board. The CHG and BAT terminals are connected via a 20A fuse. It is recommended to supply 48V power from the XT90 connector.
The PWR jumper controls whether the upper board receives power from the bottom board. Leaving it disconnected will prevent the upper board from powering on. For temporary use, you can also power the board directly via the USB-C port.
Logging into the System
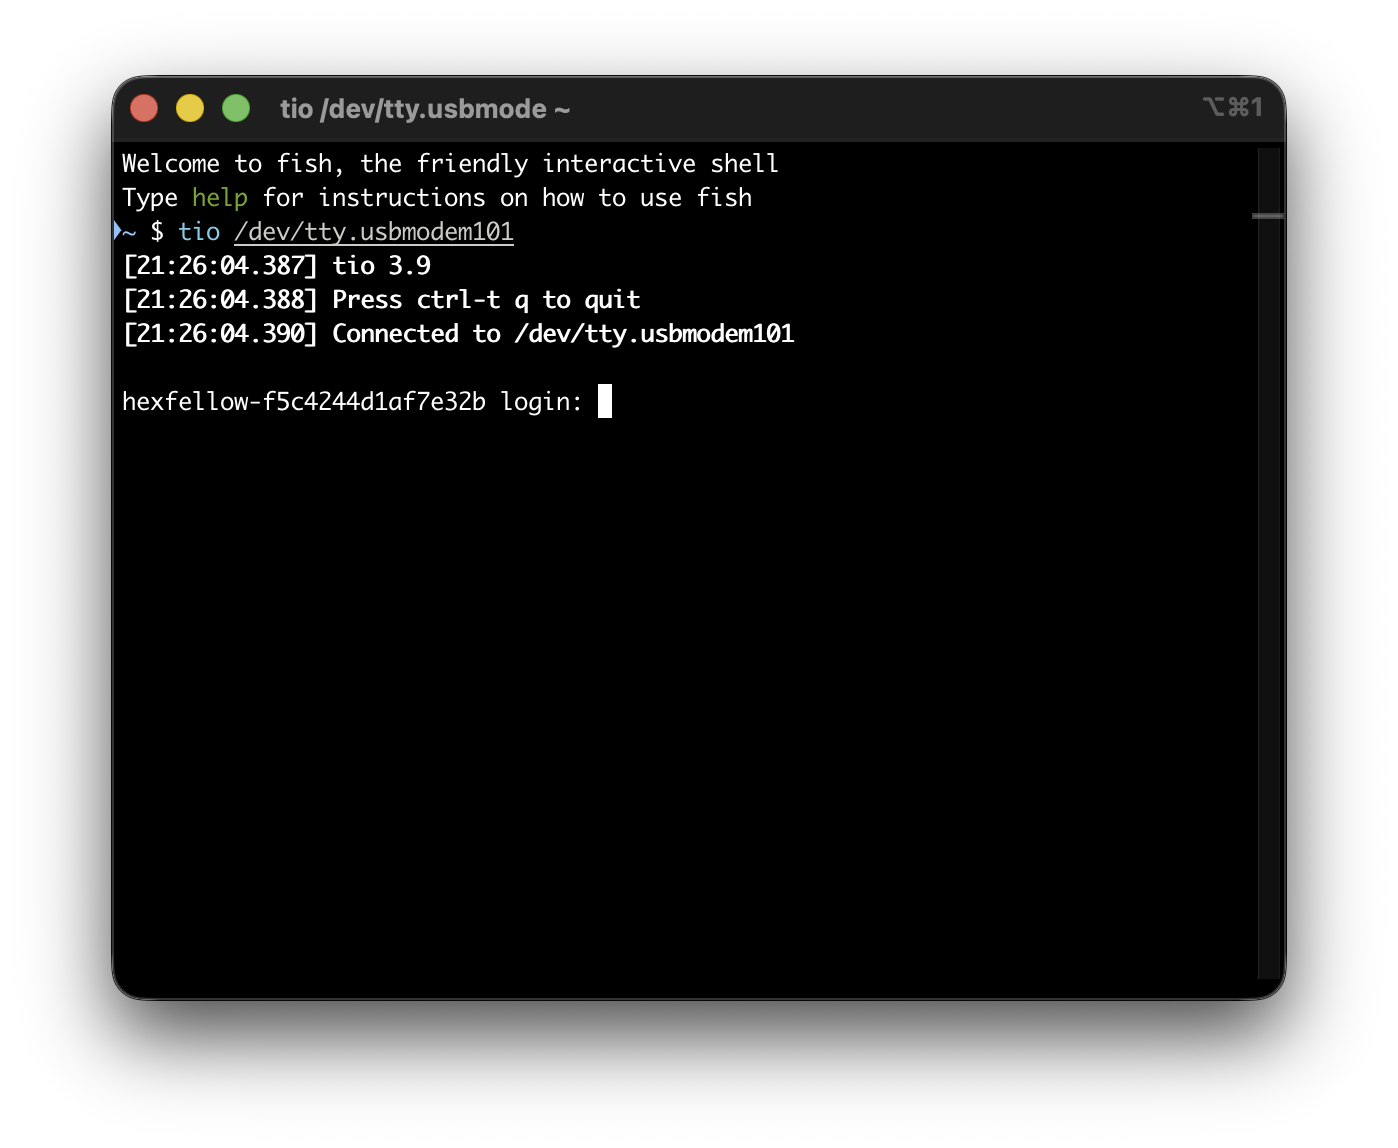
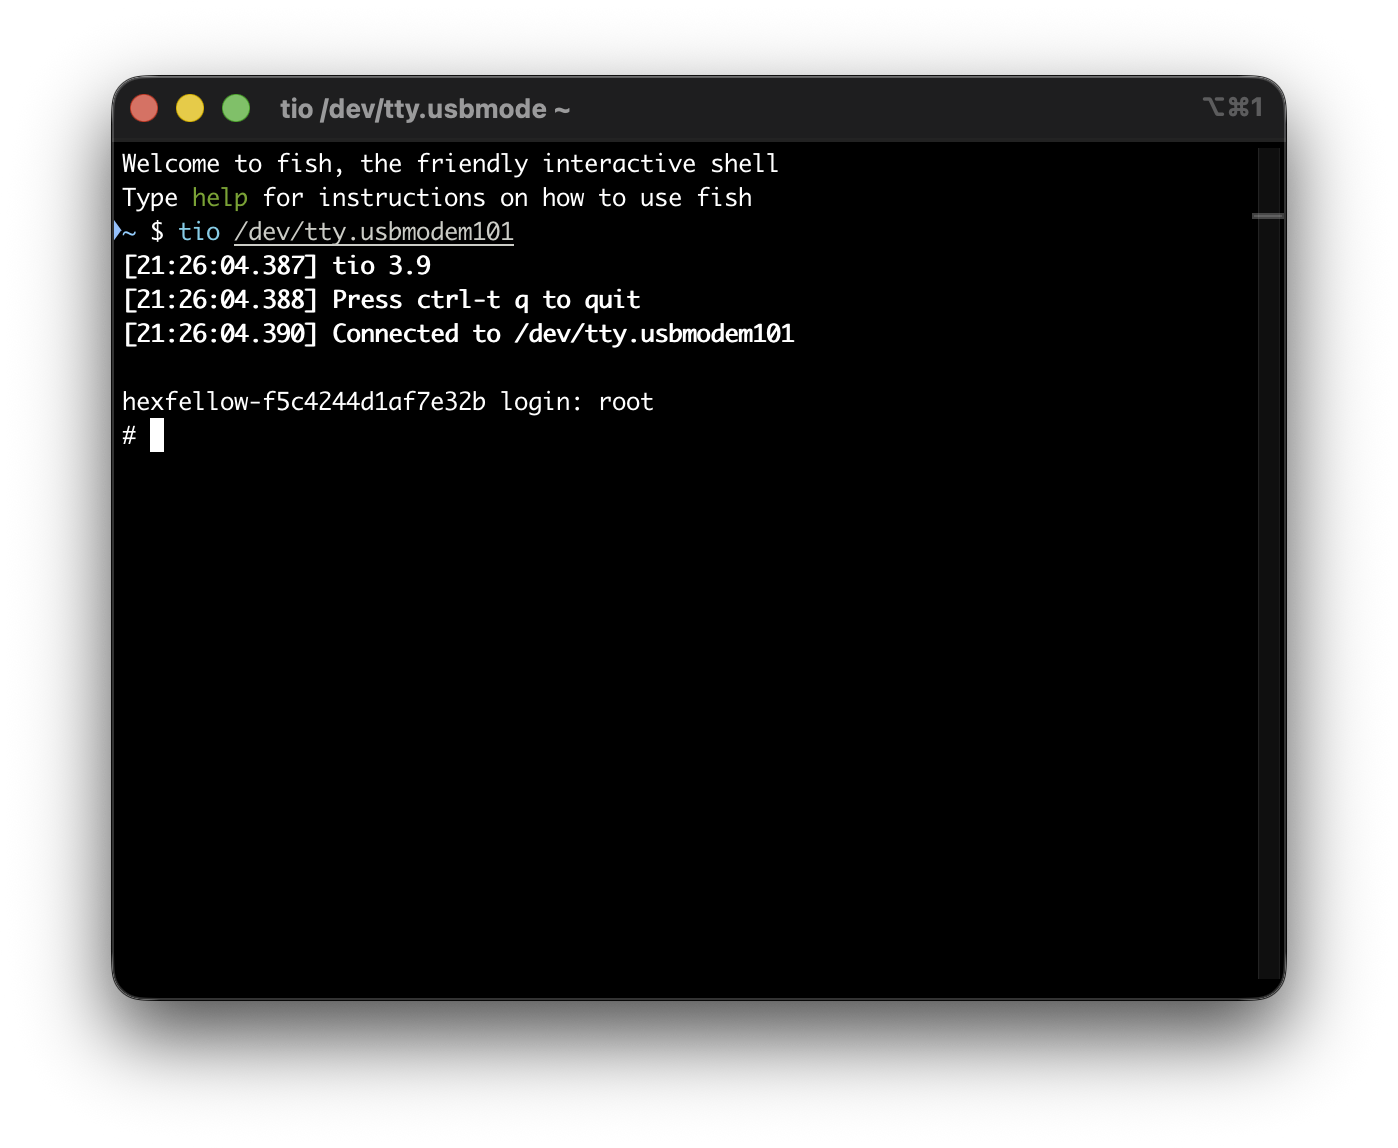
Connect the HEXCOMPUTER-P1's USB-C port to your computer using a USB-C data cable (ensure your computer's USB port can supply sufficient power; a C-to-C cable is recommended, or connect a 48V power supply). Then use any serial terminal tool to open the newly appeared serial port. Here we use tio as an example:
Press Enter a few times to bring up the login prompt. Enter root as the username and press Enter to access the system. Note that you cannot exit the USB serial console using Ctrl-D or exit, otherwise you won't be able to reconnect until the computer is restarted. It is recommended to configure SSH keys via the serial console, and use SSH for all subsequent logins.
Running Your Own Programs
Buildroot
The Buildroot configuration is available on GitHub. Please refer to its README.md to add the software packages you need.
After completing the build, download xrock and compile the xrock tool.
Then power off the HEXCOMPUTER-P1, remove the jumper cap from the STOP header, and connect the HEXCOMPUTER's USB-C port to your computer's USB port.

Finally, flash the rootfs.ext2 file to the HEXCOMPUTER-P1 using sudo ./xrock flash write 262144 {PATH_TO_THE_ROOTFS_EXT2_FILE}. Be absolutely certain that 262144 is correct — flashing to the wrong address will prevent the HEXCOMPUTER-P1 from booting. After flashing is complete, reinsert the jumper cap into the STOP header, then power the device back on. It will automatically boot into the new system.
Unbricking
If, for some unfortunate reason, the HEXCOMPUTER-P1 fails to boot, you can try the following method to recover it:
- Open the HEXCOMPUTER-P1 enclosure, locate the maskrom jumper, and short the jumper pins.